


Learning how to raise mealworms at home is an easy, budget-friendly way to keep a steady supply of fresh insects for your sugar gliders. Mealworms are the larval stage of the darkling beetle, and with a simple container, bedding and a little patience, a small colony can keep producing for months.
At SunCoast Sugar Gliders, we've cared for gliders since 1999, and we've long believed insects belong in a balanced glider diet. Here's a practical, step-by-step guide.
Why Raise Mealworms for Sugar Gliders?
Insects are a natural part of what sugar gliders eat. Raising your own mealworms gives you:
- Freshness: you know exactly how the insects were raised and fed
- Control: you can gut-load them with nutritious food before serving
- Savings: a colony can keep producing after the first purchase
- Convenience: no last-minute trips to the pet store
Mealworms are fairly high in fat, so they're best as part of a varied diet, not the main course. Read more about why insects belong in a sugar glider diet.
What You Need
- A smooth-sided plastic container with a ventilated lid (mealworms can't climb smooth plastic well)
- Bedding and food: wheat bran or plain rolled oats are popular choices
- A moisture source: thin slices of carrot or potato
- A few cardboard egg-crate pieces or paper for the beetles to hide under
- Starter mealworms from a reputable pet store or feeder supplier
- Optional: a second and third container to separate life stages
Step-by-Step: Setting Up a Mealworm Colony
1. Prepare the container
Clean and dry the container. If the lid doesn't have holes, add small ventilation holes. Good airflow helps prevent mold.
2. Add bedding
Spread a layer of wheat bran or oats across the bottom. This is both bedding and food.
3. Add a moisture source
Place a few slices of carrot or potato on top. Replace them as they dry out or before they mold. Avoid adding water directly; damp bedding invites mold and mites.
4. Add your mealworms
Add your starter mealworms and cover part of the surface with egg crate or paper so they have dark places to hide.
5. Keep it warm and dark
Mealworms do best at warm room temperature in a dark, quiet spot. Many people keep the colony in a garage, closet or utility room, since a colony can develop an odor.
The Mealworm Life Cycle
Mealworms go through four stages:
- Egg: tiny and hard to see, laid in the bedding
- Larva: the mealworm you'll feed, which molts as it grows
- Pupa: a pale, still stage before adulthood
- Beetle: the adult darkling beetle, which lays eggs to continue the cycle
Many keepers move pupae to a separate container so larvae and beetles don't damage them. Beetles can then go into a breeding container. Development speed depends on temperature, so be patient.
Keeping Your Colony Healthy
- Remove dead insects and old vegetable slices regularly
- Sift and replace bedding when it becomes powdery with waste (called frass)
- Watch for mold or mites and start fresh if they appear
- Don't overcrowd the container
Troubleshooting Common Mealworm Problems
- Mold on the bedding: remove the moisture source sooner, add ventilation and replace the affected bedding.
- Tiny mites: usually a sign the bedding is too damp. Start over with fresh bran or oats in a clean container.
- Mealworms not pupating: temperature is often the cause. A cooler spot slows the whole life cycle down.
- Beetles not laying: make sure they have food, a moisture source and hiding places, and give them time.
- Strong smell: sift out frass and replace bedding more often, and keep the colony in a well-ventilated area.
Gut Loading Before Feeding
A day or so before serving, give the mealworms you plan to feed fresh vegetables or a gut-loading food. That way the insects carry more nutrition to your gliders. Our guide to gut loading insects for sugar gliders explains how.
Serving Mealworms to Your Gliders
- Serve live or freshly prepared mealworms in a small, smooth dish so they can't crawl away
- Offer them as part of the evening meal or as a bonding treat from your hand
- Keep portions modest because mealworms are high in fat
- Never feed insects caught outdoors, which may carry pesticides or parasites
For more on balancing insects with other foods, see our sugar glider diet guide and our look at why calcium to phosphorus ratio matters when feeding mealworms.
Frequently Asked Questions
Do homegrown mealworms smell?
A colony can develop an earthy odor, especially if bedding isn't refreshed. Regular cleaning helps, and many people keep colonies outside the main living space.
Can I feed beetles to my sugar gliders?
Some owners do, but most feed the larvae and keep beetles for breeding. If you're unsure, ask your exotics vet.
Are mealworms enough protein for sugar gliders?
No single insect provides everything a glider needs. Mealworms should complement a quality staple food, not replace it.
Conclusion: A Simple Way to Add Fresh Insects
Raising mealworms is simple once your colony is set up: a container, bran or oats, a moisture source, warmth and regular cleaning. Pair your homegrown insects with a quality staple to keep your gliders' diet balanced.
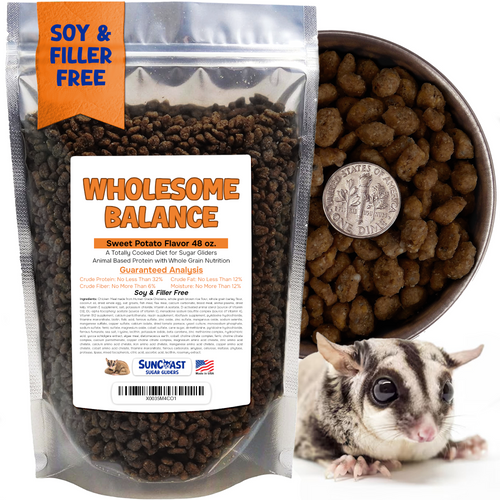
Build that foundation with SunCoast's premium nutrition, Made in USA since 1999, with free shipping on orders $30+. Shop sugar glider food.